Getting Started with SEO4Ajax
Welcome to SEO4Ajax! We're glad you're here. Spend a few minutes going through this guide to learn some SEO4Ajax basics and start indexing your Ajax website.
Introduction
This document is designed to be an extremely gentle introduction. At the end of this document, we'll refer you on to resources that can help you pursue these topics further.
Before we dive in, here are a few terms that will be used throughout this document:
- Site crawling
- The process of capturing a whole site by navigating and capturing automatically all the inner links found in the site
- SEO4Ajax crawler
- The server with the responsibility of crawling sites
- Capture
- The static HTML snapshot of a page from an Ajax site, which will be served to indexing robots
Check our FAQ for answers to the most commonly asked questions
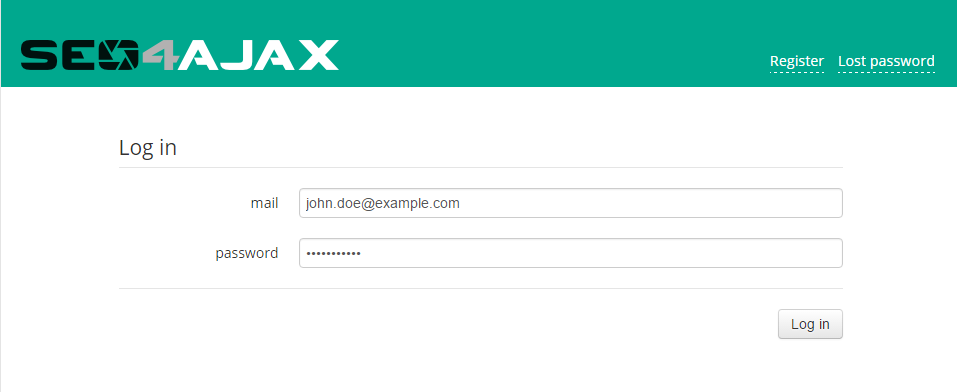
1 - Log in to the console
Go to console.seo4ajax.com, type your email and your password in the appropriate fields, and click on the "Log in" button.
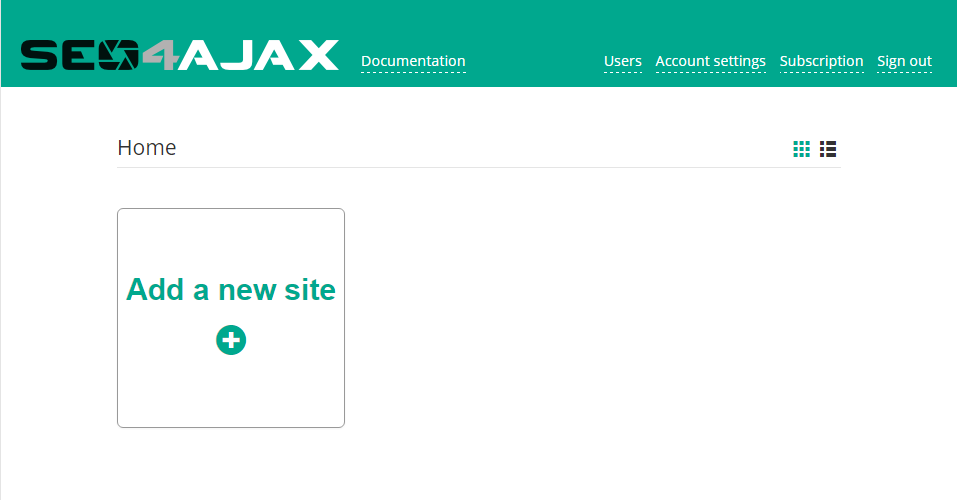
2 - Register your site in SEO4Ajax
On the home page, create the SEO4Ajax configuration for your site by clicking on the "Add a new site" button.
A popup is displayed and invites you to type a site name and its URL in the appropriate fields. For
example, if you have an Ajax site hosted at https://www.example.com/, you can type My site
for the name and https://www.example.com/ for the URL.
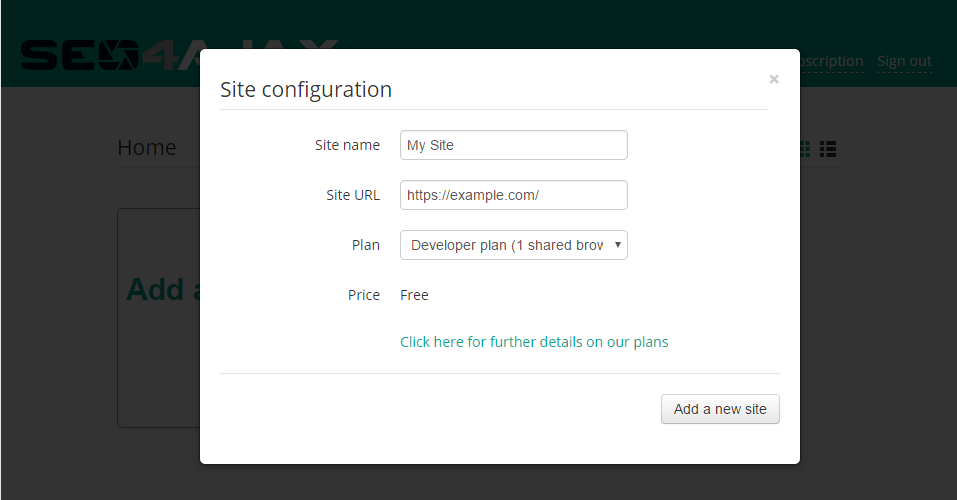
Click on the "Add new site" button to confirm the action. The settings page is displayed.
3 - Start the SEO4Ajax crawler
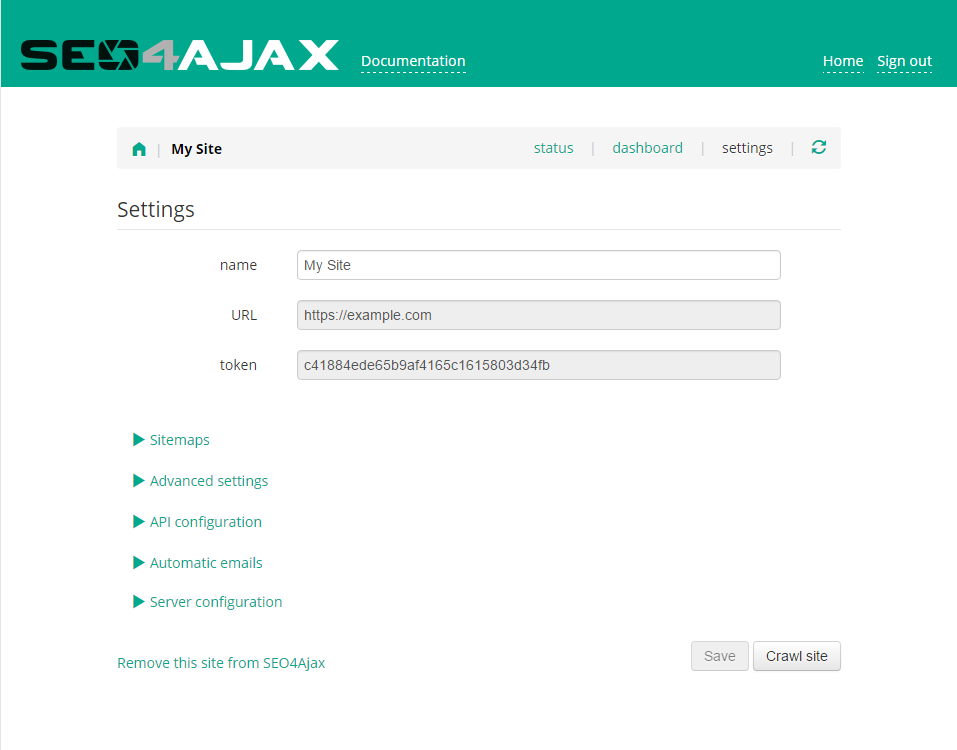
Most of the time, the default configuration will work without any modification in the site settings. However, before launching the first crawl on your site, please check that it fulfills these requirements:
- Your site must be publicly available on the Internet in order to be reachable by the SEO4Ajax crawler.
- Your site must be compatible with Chrome.
- Each unique page rendered with JavaScript must have its own URL.
Click on the "Crawl site" button to crawl the site for the first time. This action will order the SEO4Ajax crawler to capture all the pages on the site. The status view "pendings" is then displayed.
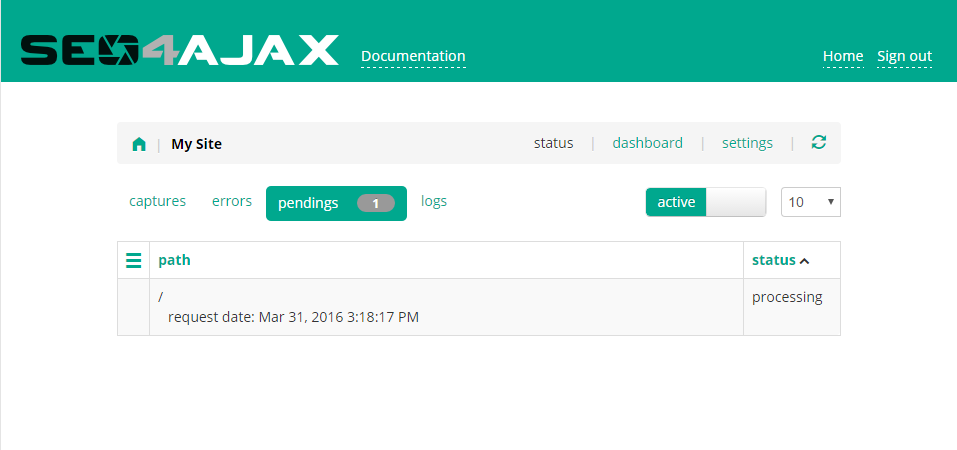
This view shows the status of the site capture.
4 - Embed snippet in the HTTP server configuration file
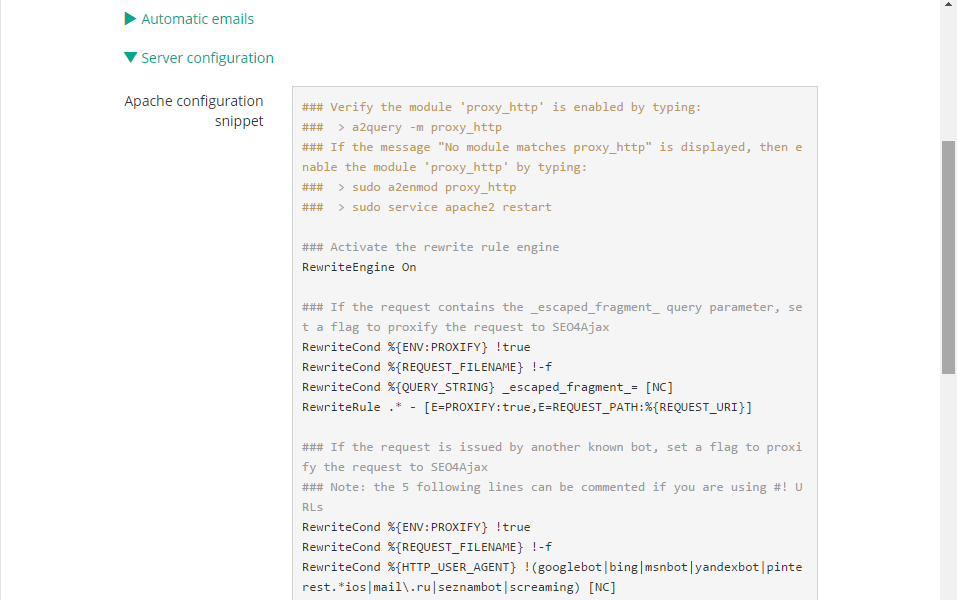
This configuration snippet will be used to detect when a bot requests a page, and to retrieve the corresponding capture from the database of SEO4Ajax.
If you use Apache, Nginx or IIS, SEO4Ajax can help you by providing a snippet example to include in your server configuration file. Go to "Settings" view and expand "Server configuration" item to display it.
Alternatively, you can integrate SEO4Ajax directly in your web application:
- For Express (NodeJS) and Meteor, use the connect-s4a middleware
- For Next.js, use this middleware
- For Go, use the SEO4Ajax Golang connector
- For Django (Python), use this Django middleware (before version 1.10) or this Django middleware (after version 1.10)
- For Rails (Ruby), use this Ruby on Rails middleware
- For Java, use this Java filter
- For Akamai, follow this procedure
- For Vercel, follow this procedure
- For Cloudflare, follow this procedure
- For AWS CloudFront, refer to this example
You can also integrate SEO4Ajax in Varnish Cache by using this configuration file.
5 - Test it
Once some pages are captured, you can easily test if the server configuration works as expected.
Click on the "captures" link in the header of the status view to display the paths that have been captured by SEO4Ajax. Then, click on the "+" icon on the right of a path in the table to expand the details panel.
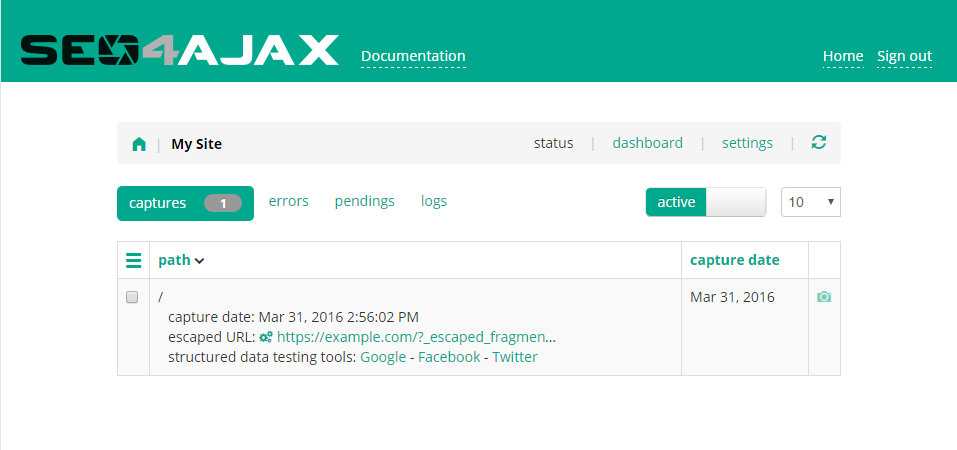
If your server configuration supports the "_escaped_fragment_" query parameter, copy the "escaped URL"
and test the integration with cURL as shown below
(replace https://example.com/?_escaped_fragment_= with your escaped URL).
curl -I https://example.com/?_escaped_fragment_=
If your server configuration does not support the "_escaped_fragment_" query parameter, test the integration with cURL as shown below.
curl -H "User-Agent: Bot" -I https://example.com/
If the configuration is working properly, you should see the HTTP header X-Powered-By: SEO4Ajax
in the console as shown below.
HTTP/1.1 200 OK
Content-Type: text/html
Date: Thu, 17 Sep 2015 09:39:02 GMT
Etag: "f24cd417d7db0e862534328c0a73c642"
Last-Modified: Thu, 31 Mar 2016 13:47:30 GMT
Server: nginx/1.2.9
Vary: Accept-Encoding, User-Agent, X-S4a-Debug
X-Powered-By: SEO4Ajax
You can find more information about the escaped URL format and the Google Ajax Crawling specification here.
6 - Update the index file
This step is needed only if you implement the Crawling Scheme Specification. If you implement the Dynamic Rendering recommendation, go directly to the next step.
In the <head> tag of the index file, add this tag <meta name="fragment" content="!">
in order to explicitly indicate your site supports the oogle Ajax Crawling specification.
7 - Test
If your server implement the Dynamic Rendering recommendation then you can use any SEO tool like the preview in the Google Search Console to test the integration.
Otherwise, if your server implement the the Google Ajax Scheme implementation, the SEO4Ajax Companion allows you to do integration tests directly in your browser. It will also help you to preview exactly what compliant bots see.
Going further
Here are all the pages from the SEO4Ajax documentation site: